The code in this post is build using VS2015 and AspNetCore RC1
Recently we have been looking at Swagger as a way to generate a meta data endpoint for our Web Api’s. You can easily do this by adding the Swashbuckle NuGet packages to you solution.
Setting up Swashbuckle
You start by adding the following packages to your package.json:1
2"Swashbuckle.SwaggerGen": "6.0.0-rc1-final"
"Swashbuckle.SwaggerUi": "6.0.0-rc1-final"
You then add the following code1
2
3
4
5
6
7
8
9
10services.AddSwaggerGen();
services.ConfigureSwaggerDocument(options =>
{
options.SingleApiVersion(new Info
{
Version = "v1",
Title = "Blog Test Api",
Description = "A test API for this blogpost"
});
});
to your ConfigureServices method inside Startup.cs file. Then you add the following lines1
2app.UseSwaggerGen()
app.UseSwaggerUi();
to your Configure method inside Startup.cs. After compiling and running the application you can go to your api url /swagger/ui to get a page looking like this.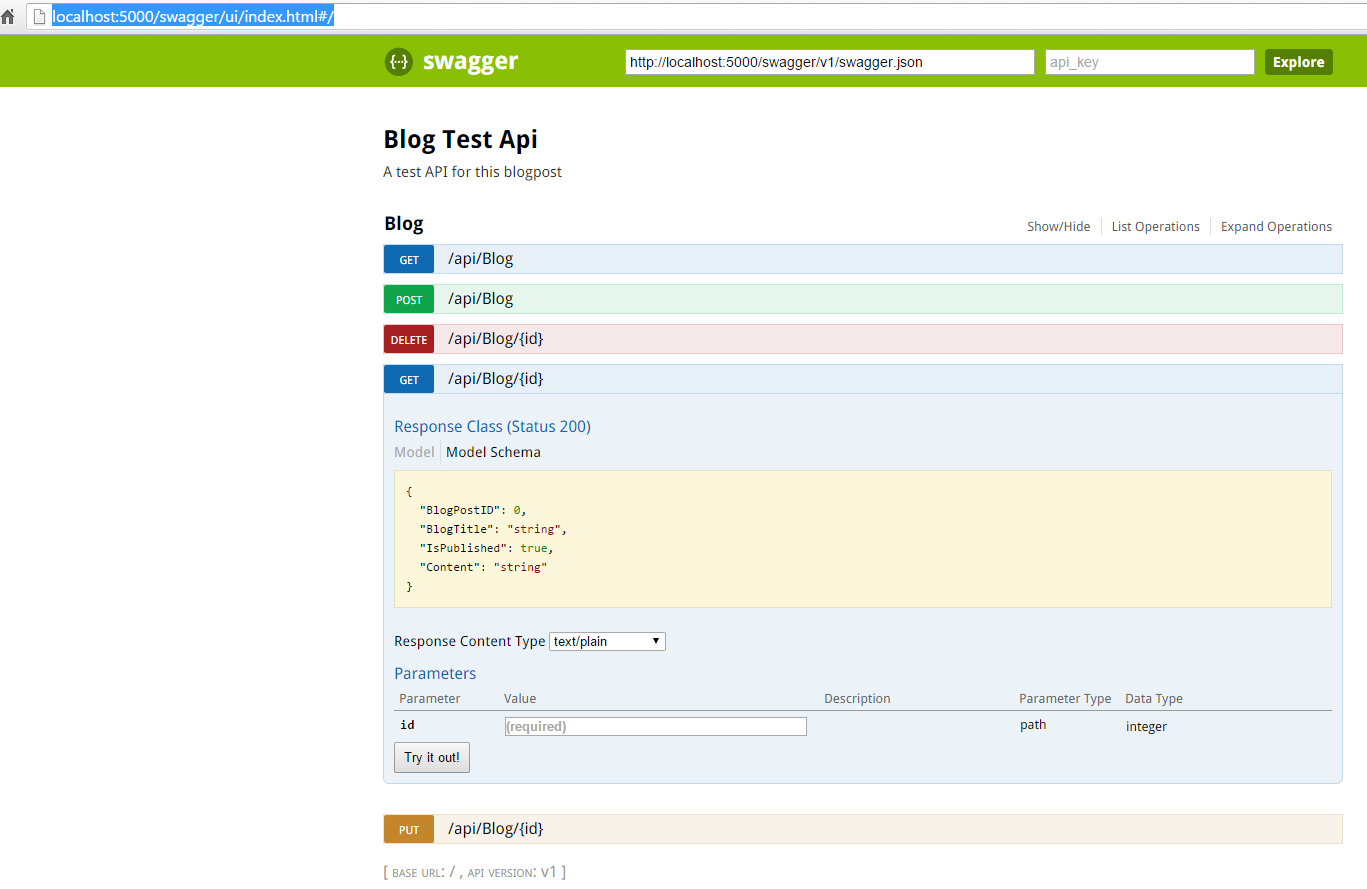
The test page even enables you to do quick testing of your API. Everything looks fine right? Well, this works if your Web Api is accessible without credentials. When you have a Web Api that only accept JWT Bearer tokens for example the standard page is useless unless you disable your authorization.
Luckily the Swashbuckle package has a way to add custom fields to the Swagger user interface.
OperationFilters
You start by creating a class which implements the interface called IOperationFilter. Then you have to implement the Apply method with your custom logic. In our case the method looks like this.1
2
3
4
5
6
7
8
9
10
11
12
13
14
15
16
17
18
19
20
21public void Apply(Operation operation, OperationFilterContext context)
{
var filterPipeline = context.ApiDescription.ActionDescriptor.FilterDescriptors;
var isAuthorized = filterPipeline.Select(filterInfo => filterInfo.Filter).Any(filter => filter is AuthorizeFilter);
var allowAnonymous = filterPipeline.Select(filterInfo => filterInfo.Filter).Any(filter => filter is IAllowAnonymousFilter);
if (isAuthorized && !allowAnonymous)
{
if (operation.Parameters == null)
operation.Parameters = new List<IParameter>();
operation.Parameters.Add(new NonBodyParameter
{
Name = "Authorization",
In = "header",
Description = "access token",
Required = true,
Type = "string"
});
}
}
In our case we add a NonBodyParameter to the set of parameters within the generated user interface. After implementing the OperationFilter the only thing left is letting Swashbuckle know the OperationFilter exists. You do that by adding the following statement to the ConfigureServices part of Startup.cs.1
options.OperationFilter(new AuthorizationHeaderParameterOperationFilter());
The total Swashbuckle configuration then looks like1
2
3
4
5
6
7
8
9
10
11services.AddSwaggerGen();
services.ConfigureSwaggerDocument(options =>
{
options.SingleApiVersion(new Info
{
Version = "v1",
Title = "Blog Test Api",
Description = "A test API for this blogpost"
});
options.OperationFilter(new AuthorizationHeaderParameterOperationFilter());
});
If you then go to the Swagger UI page you will notice there is a new field added to the generated Swagger UI methods.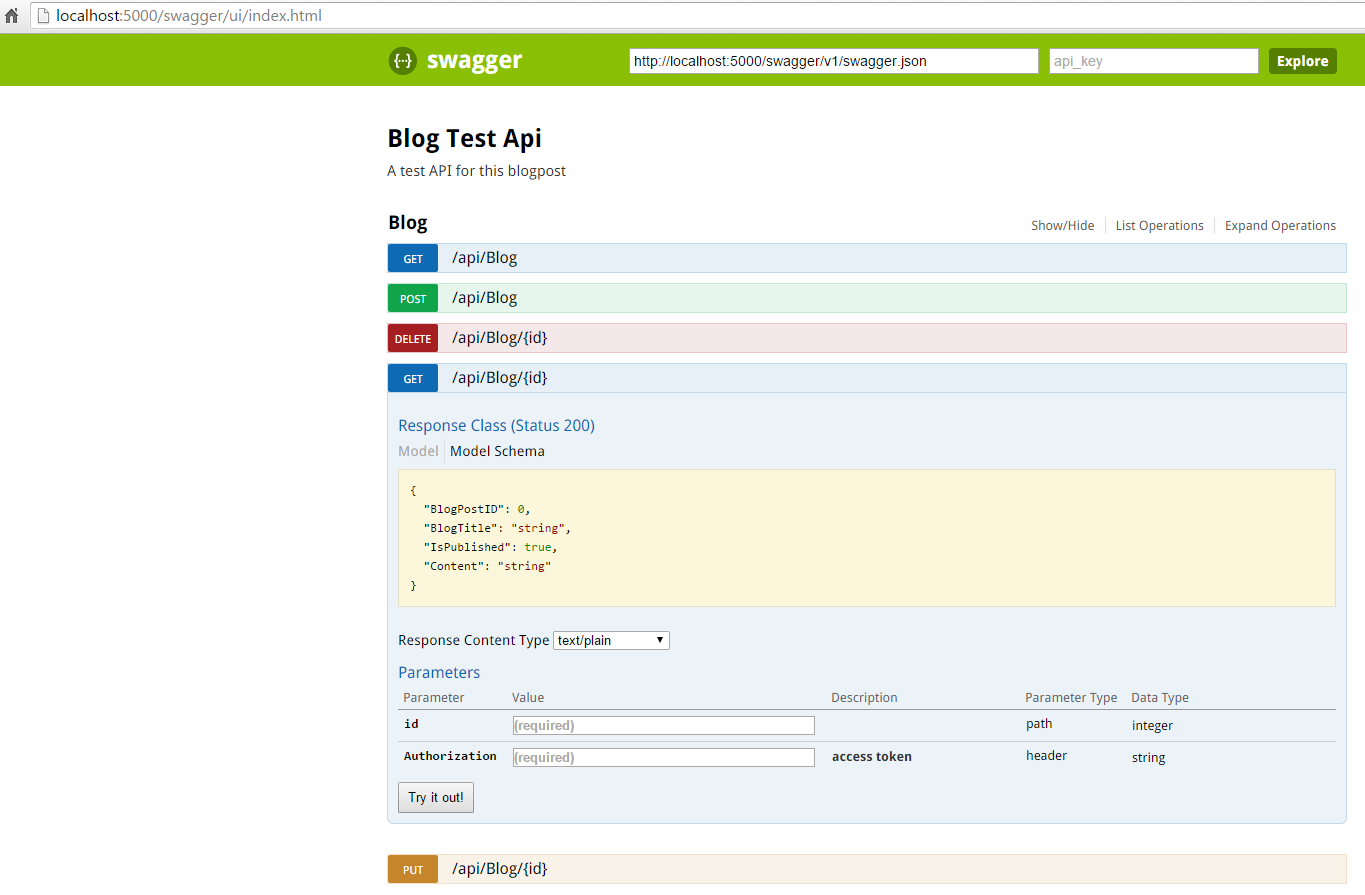
Conclusion
And there you have it. An easy way to extend the default Swashbuckle generated UI with new fields that are necessary to quickly test your Web Api’s successfully.